
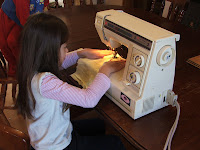
Ok time to pass the torch. This sewing machine was my mums i only remember her having one sewing machine before this one. So when she got a new sewing machine i inherited this one. And so it goes i got a new one and i pass on the old. Look at her she seems so excited.

a little hug for the sewing machine, and my mum wanted me to give this one back to her and deprive her grand daughter this!!!.

After i went through all the setting up drills and safety talks it was time to let her at it. She loved it! I told her all the things she needed to know and then we practiced them for a few minutes. It took her only about 20mins to stop putting her actual foot down on the peddle before it connected that the foot was the little dooby nacky thing that lowers onto the fabric : ). Then it was time for straight lines and stopping and starting.
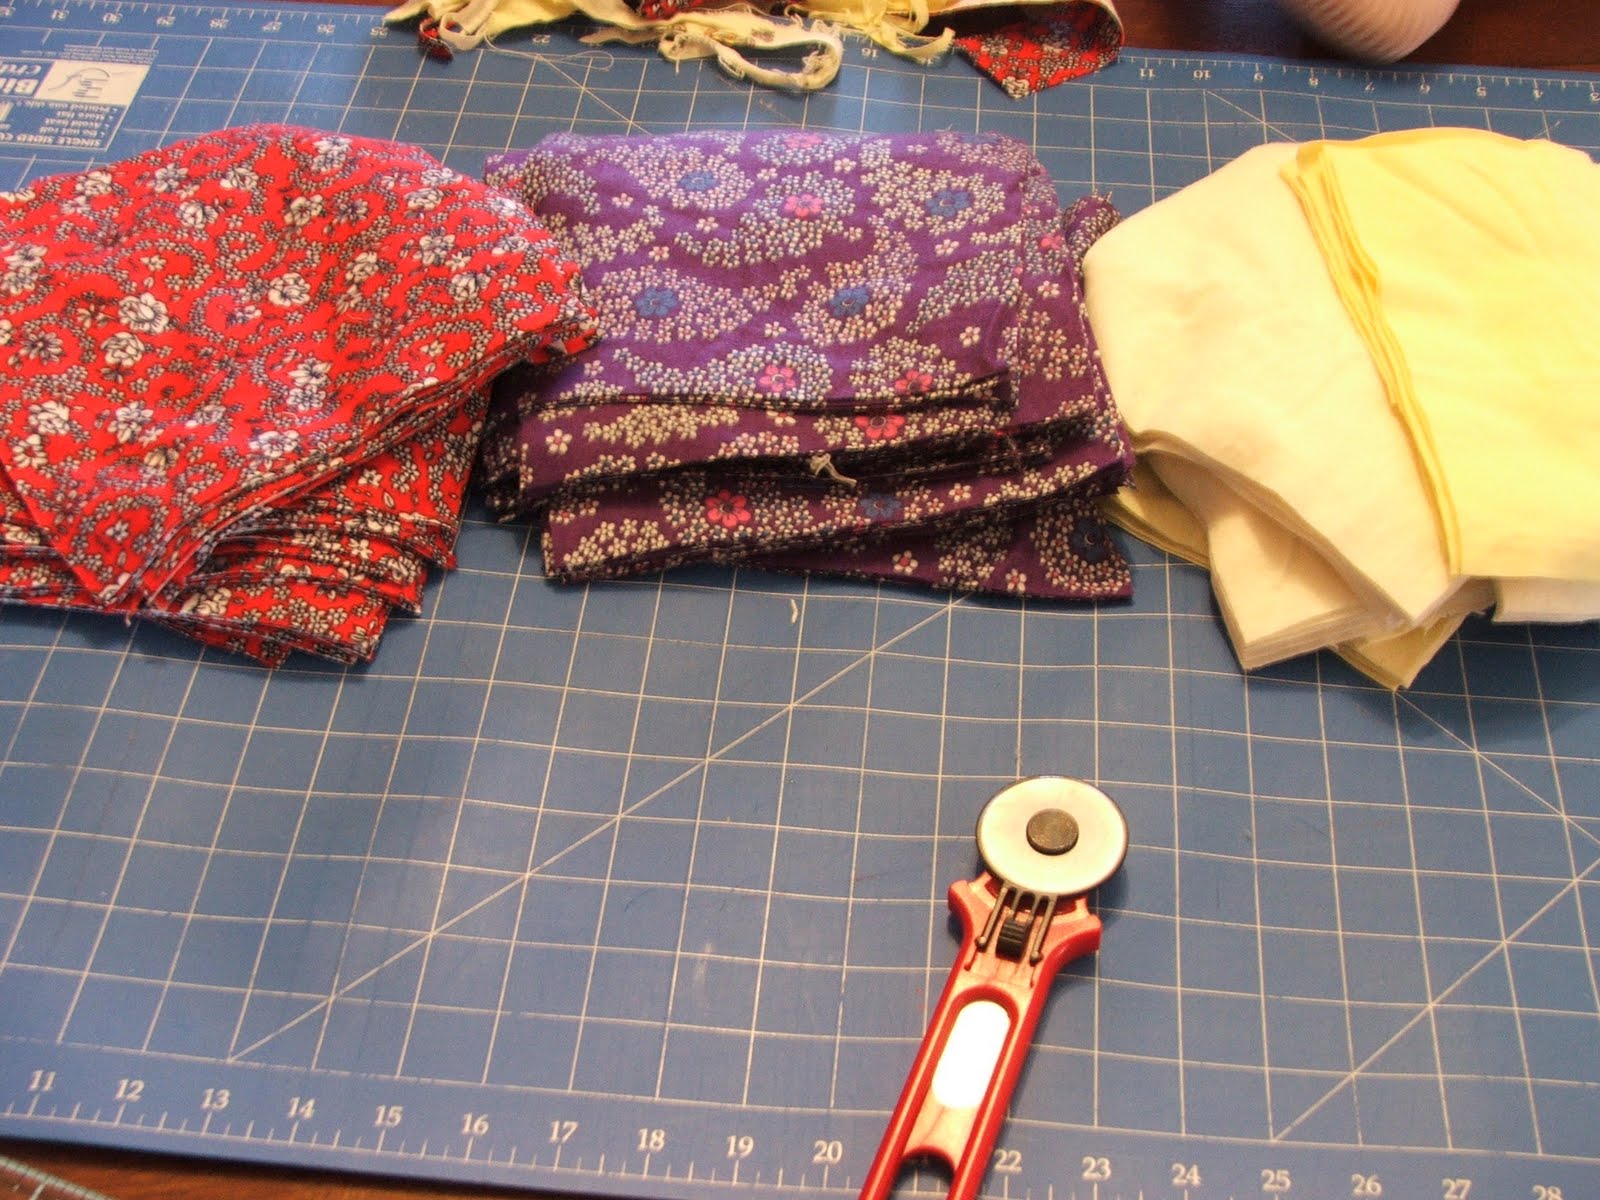
Then more practicing. At this stage she was making little "pockets" she called them. she was so cute. Then it was time to begin her learning project. I did put some thought into this and i came up with the Shaggy Quilt, its forgiving and only involves straight lines. We chose some fabric, flannel- 3 layers two that you like and one you don't need or that was cheap. In our case it was scraps from the scrap box.

Now to cut, I decided that 8" squares were big enough not to be fiddly but small enough to be cute. I did show her how to cut the fabric and she had a go, but the safest way i decided was to do it my self, and while i cut she practiced her stopping and starting, getting familiar with the machine. All together you need (for this quilt) was 36 squares of all fabrics.

It doesn't take long if you fold and cut layers piled together.

she wanted to take some credit for the cutting so here she put all the pieces together nicely for a photo.

Now to layer all the pieces. Start with one of the fabrics, because we only had two colours and we were alternating colours for front and back, it didn't matter what was on the bottom or top as long as the bottom was right side down and then the middle and then the top was right side up.

Im a mean mummy i had her do all 36 pieces. I know it could have discouraged her but i wanted her to know that this was an important step, she was fine.

Now to the sewing. sew in a line from one corner to another diagonally, in both directions. I have known people to sew a 1/2 to a 1" seam all the way around at this point also. Naughty mummy im teaching her short cuts already. We did not sew a border and we didn't even pin. What! flannel sticks really well to its self.

Look at those lines...I thought it would at least take her to till the maybe 15th square to sew this straight from one corner to the next.

Ice cream break with the boys. Man all that hard work poor dear.

Ok so once all the 36 square layers get sewn together its time to join. We joined 6 together in a long row, and like i said before we alternated the colours and i cant say what seam allowance we used, i thought it best at this point to have her line up the edge of the fabric layers with a line on the machine. Normally you would follow the border lines from earlier making your seam allowance about 1/2" to 1", and sew on the line from border. Make sure you have wrong sides facing as you want the raw edge to be on the top side of your quilt. That will be what you cut to make the "shag". She only had a few problems here with either coming in too far or out too far at the end on some of the squares. No biggy mummy unpicked while she got on with it.

Joining all those rows, i helped her pin them together and guided her as you need to sort of pull the pieces through over the joins.

Ok all joined together, and don't forget to sew all around the edge as i didn't get Charna to sew around each individual square, now to cut. we did 1cm slits you can choose to do whatever but i like the ruffle that measurement gives, don't cut through your sew lines very important! And as it turned out her hands weren't strong enough to cut through all those layers so i did this but she stood by me for every cut. Once we finished cutting we popped it into the wash to get those shaggy bits happening.

Fresh from the dryer all nice and warm. My little girl has had so much fun today, its built her confidence and showed me that kids really can do more than we give them credit for all we need is patience and a do-able project. Look at her snug as a bug in a rug!! (blanket).

She really did sew this blanket and look at it, its so good and in only one day. I know it seems like a big job but it really wasn't. It took all day because we had babies crying, lunch, visitors, phones calls. Give it a go its fun and so rewarding.
 OK so i get home from a church meeting on Sunday night, (it was the first time i left the baby by the way for 5 almost 6 hours) and i find out that my 12 year old son has made some delicious choc chip cookies. I knew we didn't have any choc chips left but when i put one of these beauties in my mouth i knew instantly what he used, Mars Bars!!! At the moment we have an abundance of the caramel chocolate bars and what a great idea. He chopped them up roughly and then added them to the mix like he would the choc chips. Soooo i thought i would share the recipe we use as it is quite coveted around these parts. Jacksons turned out a little more cakey then mine do, but that's ok we just need to have a few more lessons on how to measure for baking, because it is a science you know!!. We call them Vanessa's Choc Chip Cookies but you can call them the best you're ever had or whatever : )


